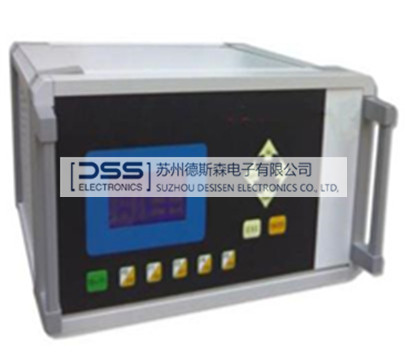
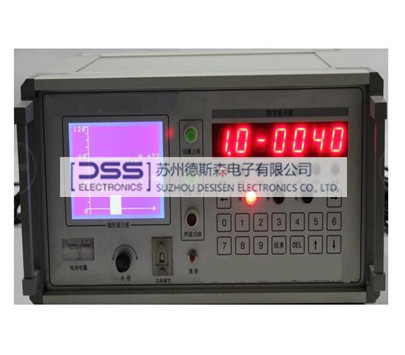
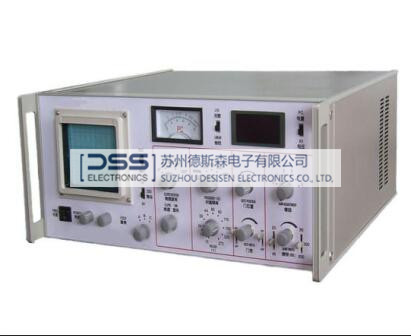
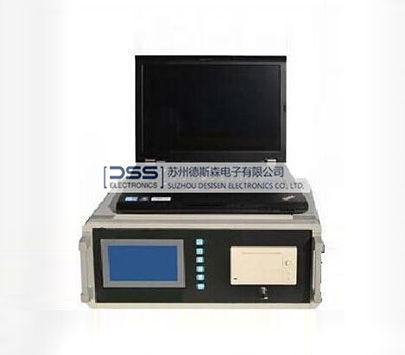
ZGF-E Intelligent non-destructive separator adopts large screen LCD digital and large size of display tube. Display interface include: bar graph, cursor figure, waveform graph, digital display. Users can choose different display interfaces according to different separation project, makes the quality condition of the workpiece to be tested clearly shown on the LCD screen, users will operate the instrument more intuitively and simply.
For the influence of defects of hardness value of magnetic conductivematerial, varieties, the depth of hardening layer, heat treatment process, and parts (such as cracks, porosity, inclusions, etc.) on the magnetic field is different, and there are certain logic corresponding relations between them.When the magnetic field probe uniformly distributed in contacts of workpiece to be measured, probe can produce a changing magnetic field, the changing magnetic field quantity will produce an exciting current on the probe coil and transfer to the instrument by wire, after analyzed and processed by the circuit analysis instrument center, the quality condition of workpiece to be measured can be displayed on the screen, after compared the measured workpiece with standard sample, which can realize the rapid identification and distinguish of material varieties, hardness and depth of hardening layer, heat treatment status and defects.
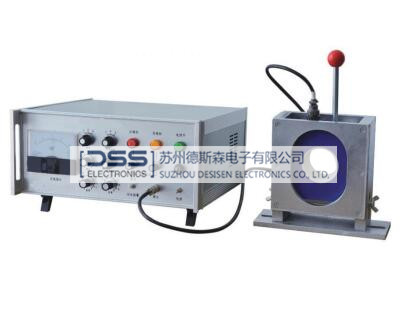
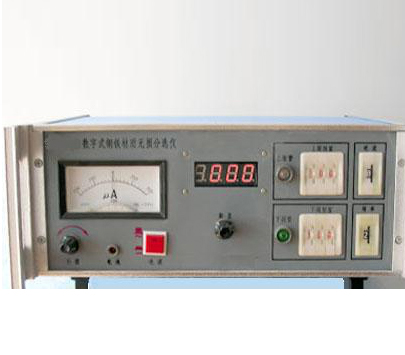
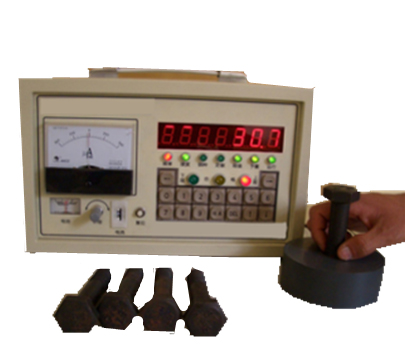
scene pictures

1. Non-destructive testing, no special requirements for the surface of workpieces. (Avoidthe destroy to the surface defects state of workpiece in traditional test methods, when debugging instrument, it only needs to prepare two standard samples of same material and workpiece)
2 . Instrument operation is simple, and convenient, it has sound and light alarm for qualified and unqualified workpiece. (it sets the function of man-machine conversation inside the instrument, only prepare two pieces of standard sample for the same specification of workpiece, and start work after simple setting).
3. Rapid detection speed. (Put the workpiece into the probe only when testing, its efficiency is ten times, even hundreds times than the traditional test method.).
4. Suitable for mass detection, ensure the quality of products. ( inspection of all raw materials and finished goods, thus avoid the missing inspection caused in conventional sampling inspection)
5. Instrument sensitivity adjustable range is wide (Current and frequency detection is continuous and adjustable, adapt to the needs of different workpieces and items under test).
6. Rich graphics interface, the quality of workpiece to be measured is intuitive (use double display mode of LCD screen display and digital tube display, display interface include: bar graph, cursor figure, waveform graph, digital display. According to the relevant graphics and position can intuitively observe the quality of workpiece be measured, can obtain steel varieties, hardness value and the depth of hardened layer and the carbon content, etc.through the relevant procedures setting).
7. Instrument model is beautiful, light weight, AC/DC (instrument chassis adopted high-grade imported sectional material, light weight, instrument has 12 V built-in maintenance-free rechargeable batteries, suitable for working under no AC power).
Scope of application:
Ferromagnetic materials, such as wire, sheet, pipe, strip steel, steel billets, and various kinds of auto parts, standard parts, bearing parts, forging, steel, etc.
1. The steel grade and type identification of the same size of materials. (Rapid separation of material)
2. The hardness testing and fast distinguish of the same size of workpiece. (Rapid separation of hardness)
3. For carbon structural steel can measure the carbon content of material. (Fixed carbon)
4. Effective distinguish and identification of defects on the material and heat treated workpiece. (Crack detection)
5. Detecting and separating of the depth of hardening layer.
6. Identification and separating of mechanical properties (strength) of materials and heat treated workpiece.
7. Distinguish of different heat treatment states of the same material.
Parameters:
1. Applicable specifications: both standard workpiece, irregular workpiece are available
2. Separation accuracy: a. Carbon: 0.03%C b. Hardness: Brinell ± 10HB, Rockwell hardness ± 1HRC C, Depth Hardening Case: 0.2mm
3. Resolution: a. Carbon: 0.01%C b. Hardness: Brinell ± 1HB, Rockwell hardness ± 0.1HRC C, Depth Hardening Case: 0.1mm
4. Inspection Speed: 1000-1500 p/h(Depending on the size of the workpiece and the proficiency of operator)。
5. Working power supply: AC 220V±10V, 50Hz; DC: 12V
6. Dimension and weight: 364.1×191.6× 300mm, 8kg
7. Type of external probe: telescope-feed probe, planar probe, pen type probe, rectangular probe
Operating temperature: -15~55℃
Storage temperature: -20~60℃
Relative humidity:less than 75%
Working voltage: AC220±10V or DC12V





 +86 13616209379